Initial Setup
This guide will walk you through initializing your project, deploying an actor, and setting up your client SDK.
If you get stuck at any point, you can ask a question on Discord/GitHub Discussion or file a bug report on GitHub Issues.
Install CLI
Run this command to install Rivet on your system:
Initialize project
Once you've installed the Rivet CLI, run this command in your project root to create a new project:
Follow the instructions to initialize your project.
Deploy project
After initializing your project, will deploy your actor to Rivet's servers:
If self-hosting, this will prompt you to input a custom API address.
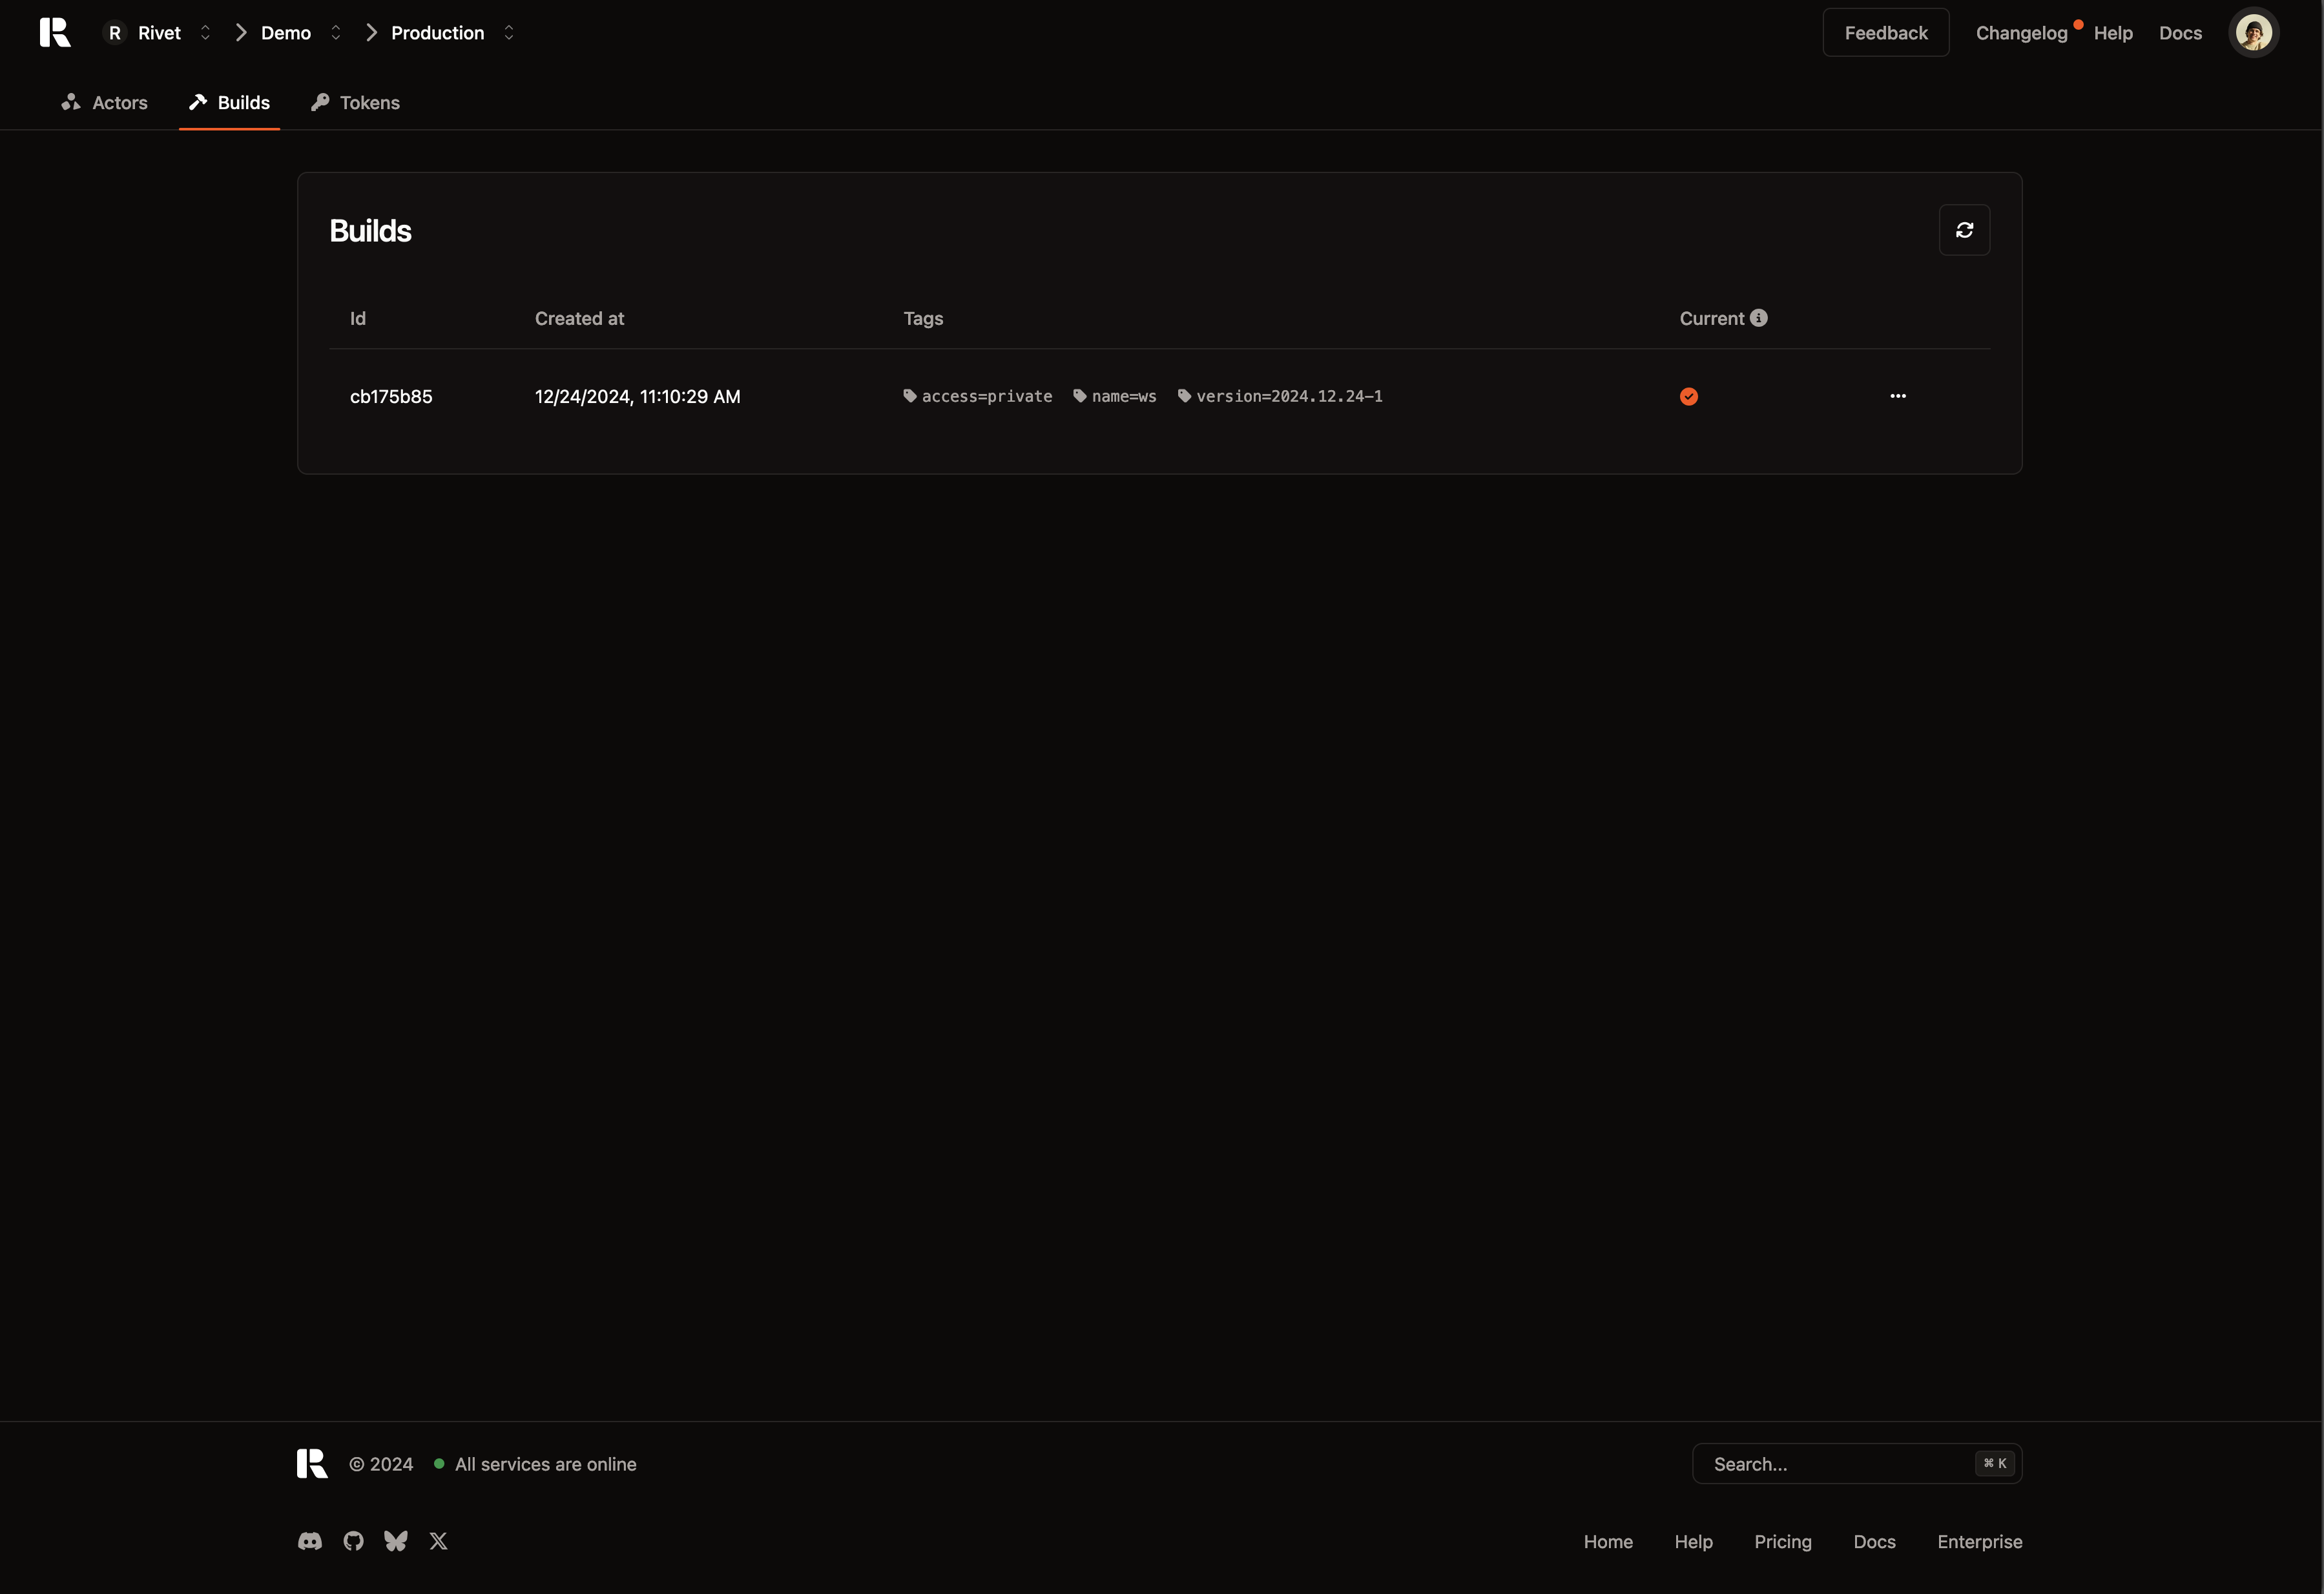
Once complete, visit the Rivet Hub to see the build you uploaded:
Create a test actor
Now that you've uploaded a build to Rivet, we need to create an actor. To test the actor can be created & connected to, run:
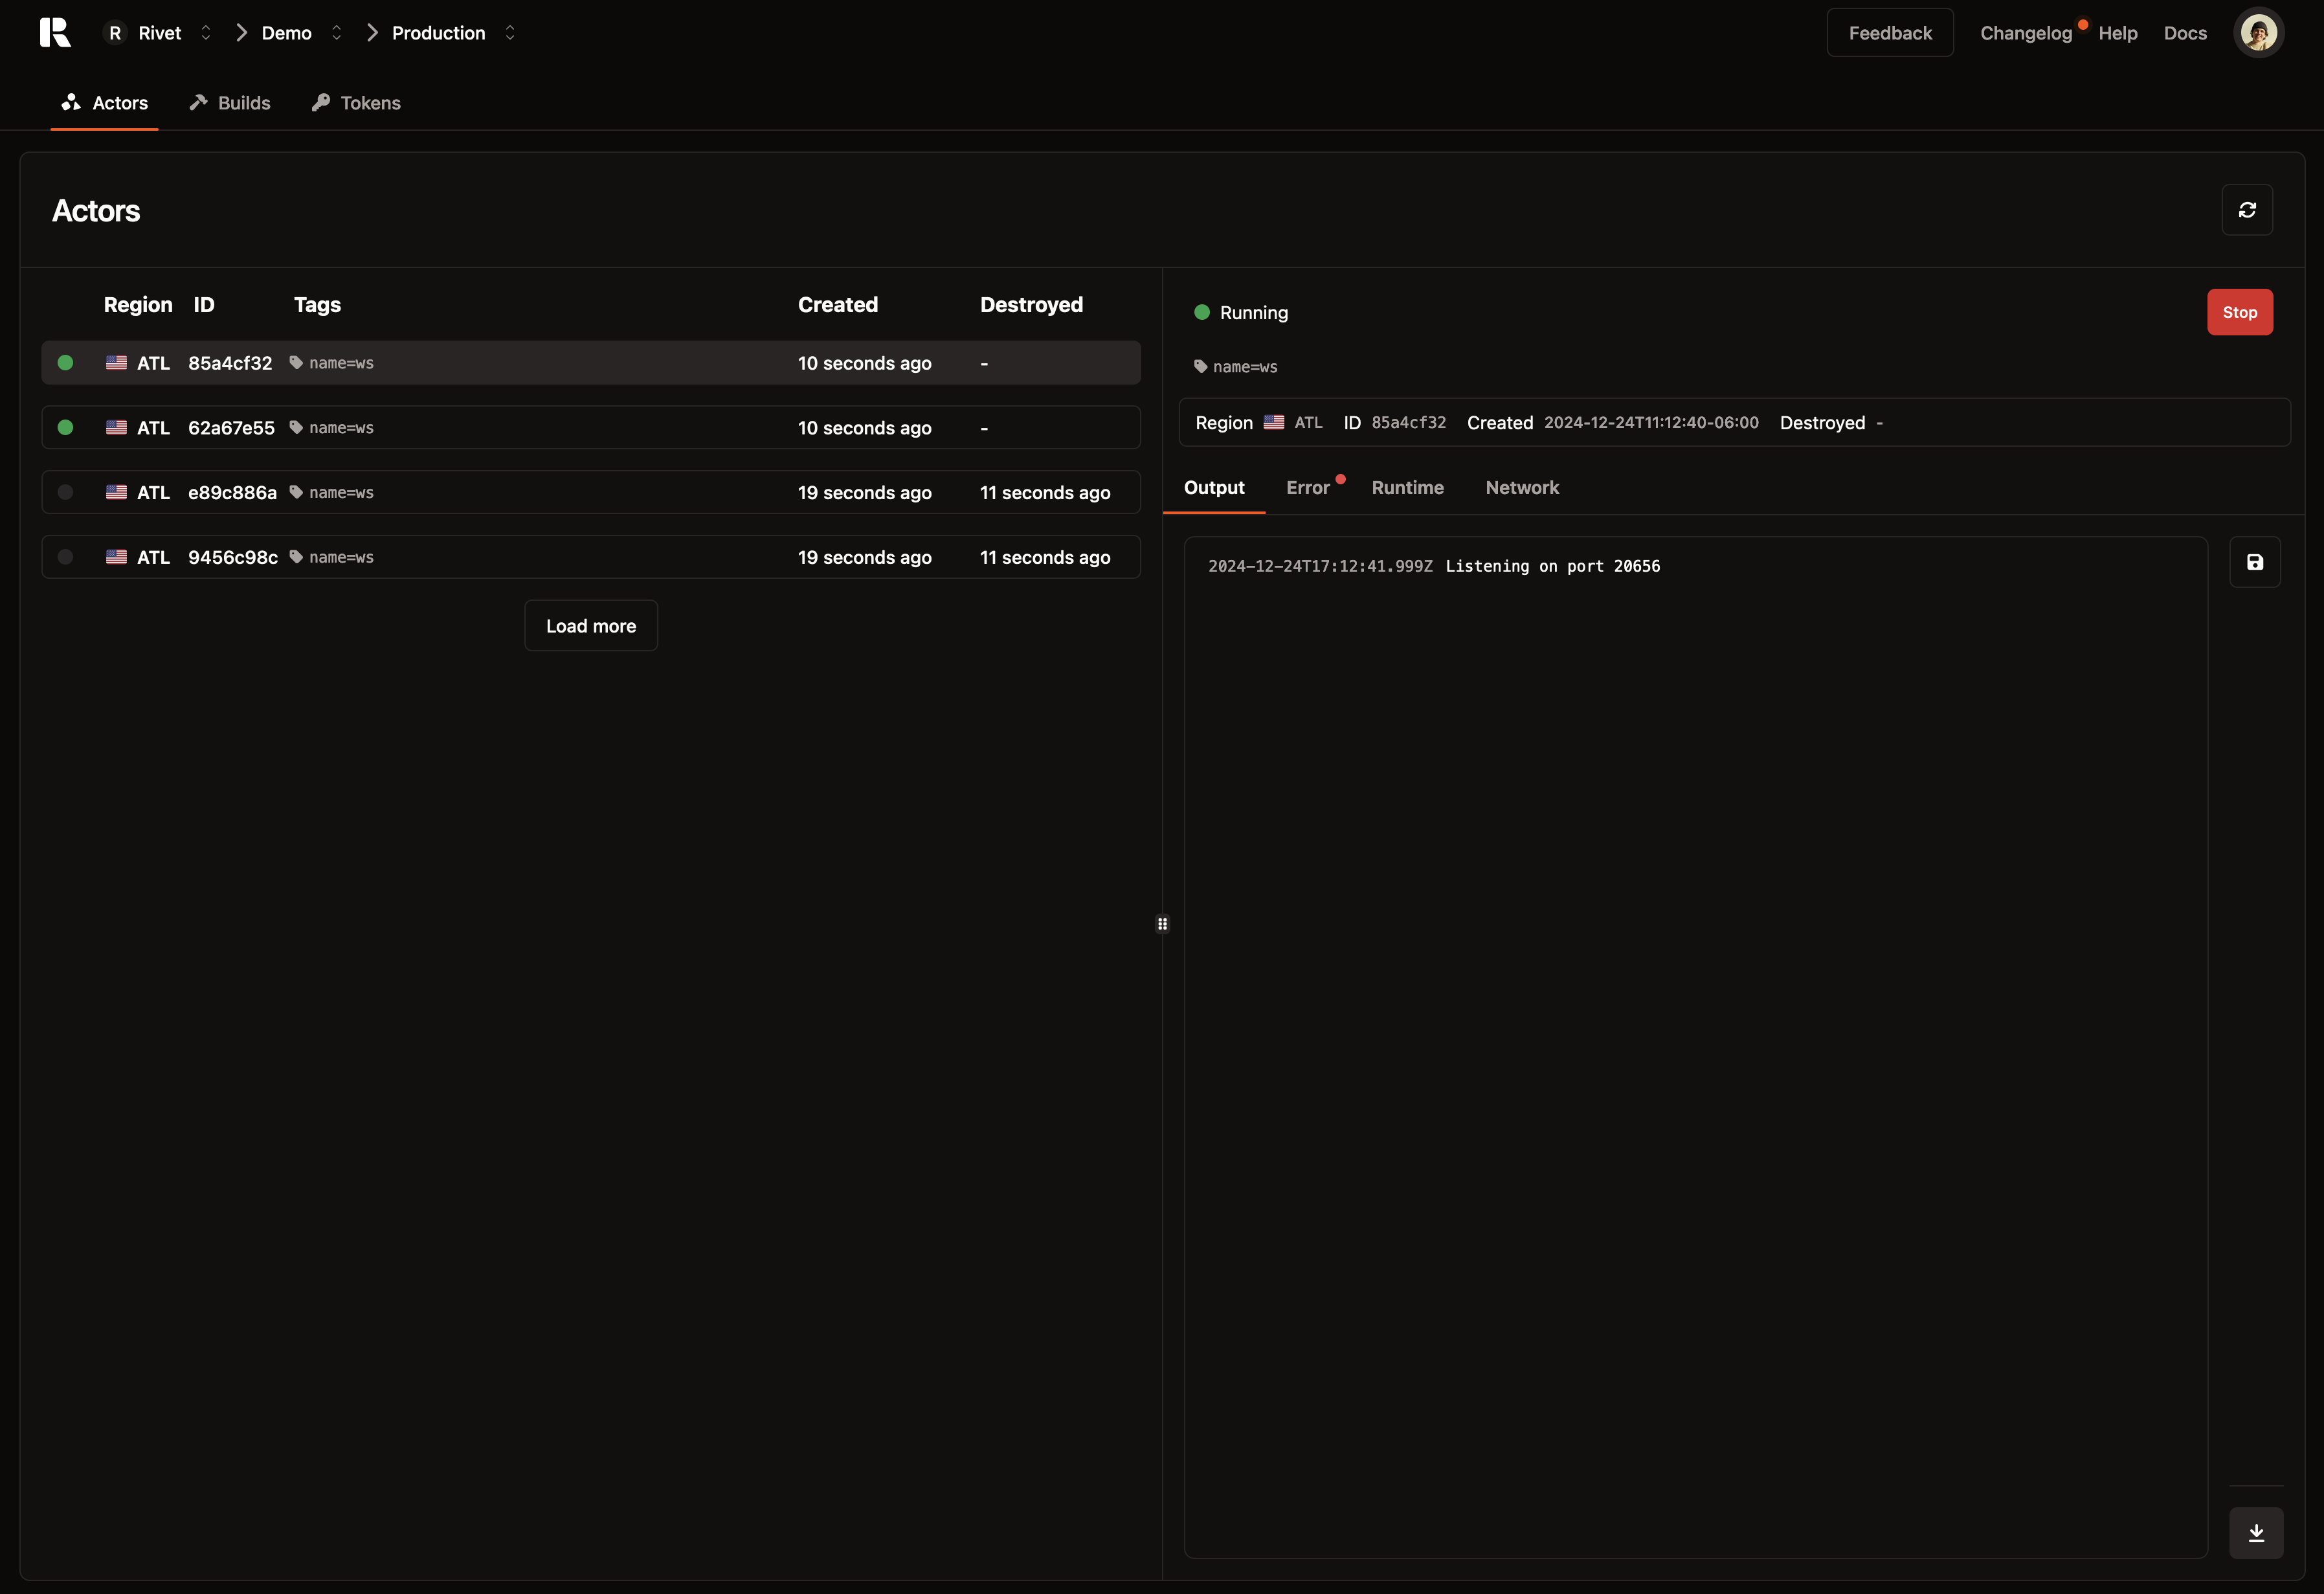
Once complete, visit the Rivet Hub to see the actor you created:
Setup client
Now that you have an actor deployed, integrate the Rivet client SDK with your actor.
Install the Actor client package:
Once installed, we need to find the endpoint that your actors connect to. Run this command in your project:
Use this code to create & connect to the actor. Replace /* CONNECTION ADDRESS */ with the value from the previous step.
Visit the Rivet Hub to see the actor you created.